Making any puff pastry by yourself from scratch can seem very intimidating and time-consuming, so here is my thought and tips on how to make danish pastry at home.
I will be really honest here, this is my first time making danish pastry from scratch. Luckily they turned out extremely well considering I was extremely careful with all the measurements and the process of making my first-ever danish pastry. I don’t usually follow just one recipe, but instead, I read 10 recipes, analyze their ingredients and methods, and use my intuition to guide me on how I go about each time I bake something new. What you see and read in this article concludes all my thought processes and what can be don’t better the next time I make this type of pastry.
What I learn the first time making a Danish pastry:
Lesson 1: It’s really not that complicated. I’ve always been scared of the complications of making a puff pastry from what I heard about, read, and watch the video on how other people goes about their pastry recipe. Until now, I realize that the only thing that will stop me from making puff pastry from scratch is the time limitation which brings me to the next point.
Lesson 2: It does take time to make the pastry. It is not something you can expect to be done in an hour. So if you want something to be eaten on the same day then do not make a danish pastry from scratch! I did leave my danish pastry overnight to rest and rise which is the best way that is recommended by almost all of the recipes out there. I am sure that there is a possibility that you can bake it the same day, if you have tried not resting your dough overnight, please let me know how it goes (on social media). Danish pastry takes a lot of time to rest in between each fold, so I would suggest you bake it on the day that you will be home for almost the whole day.
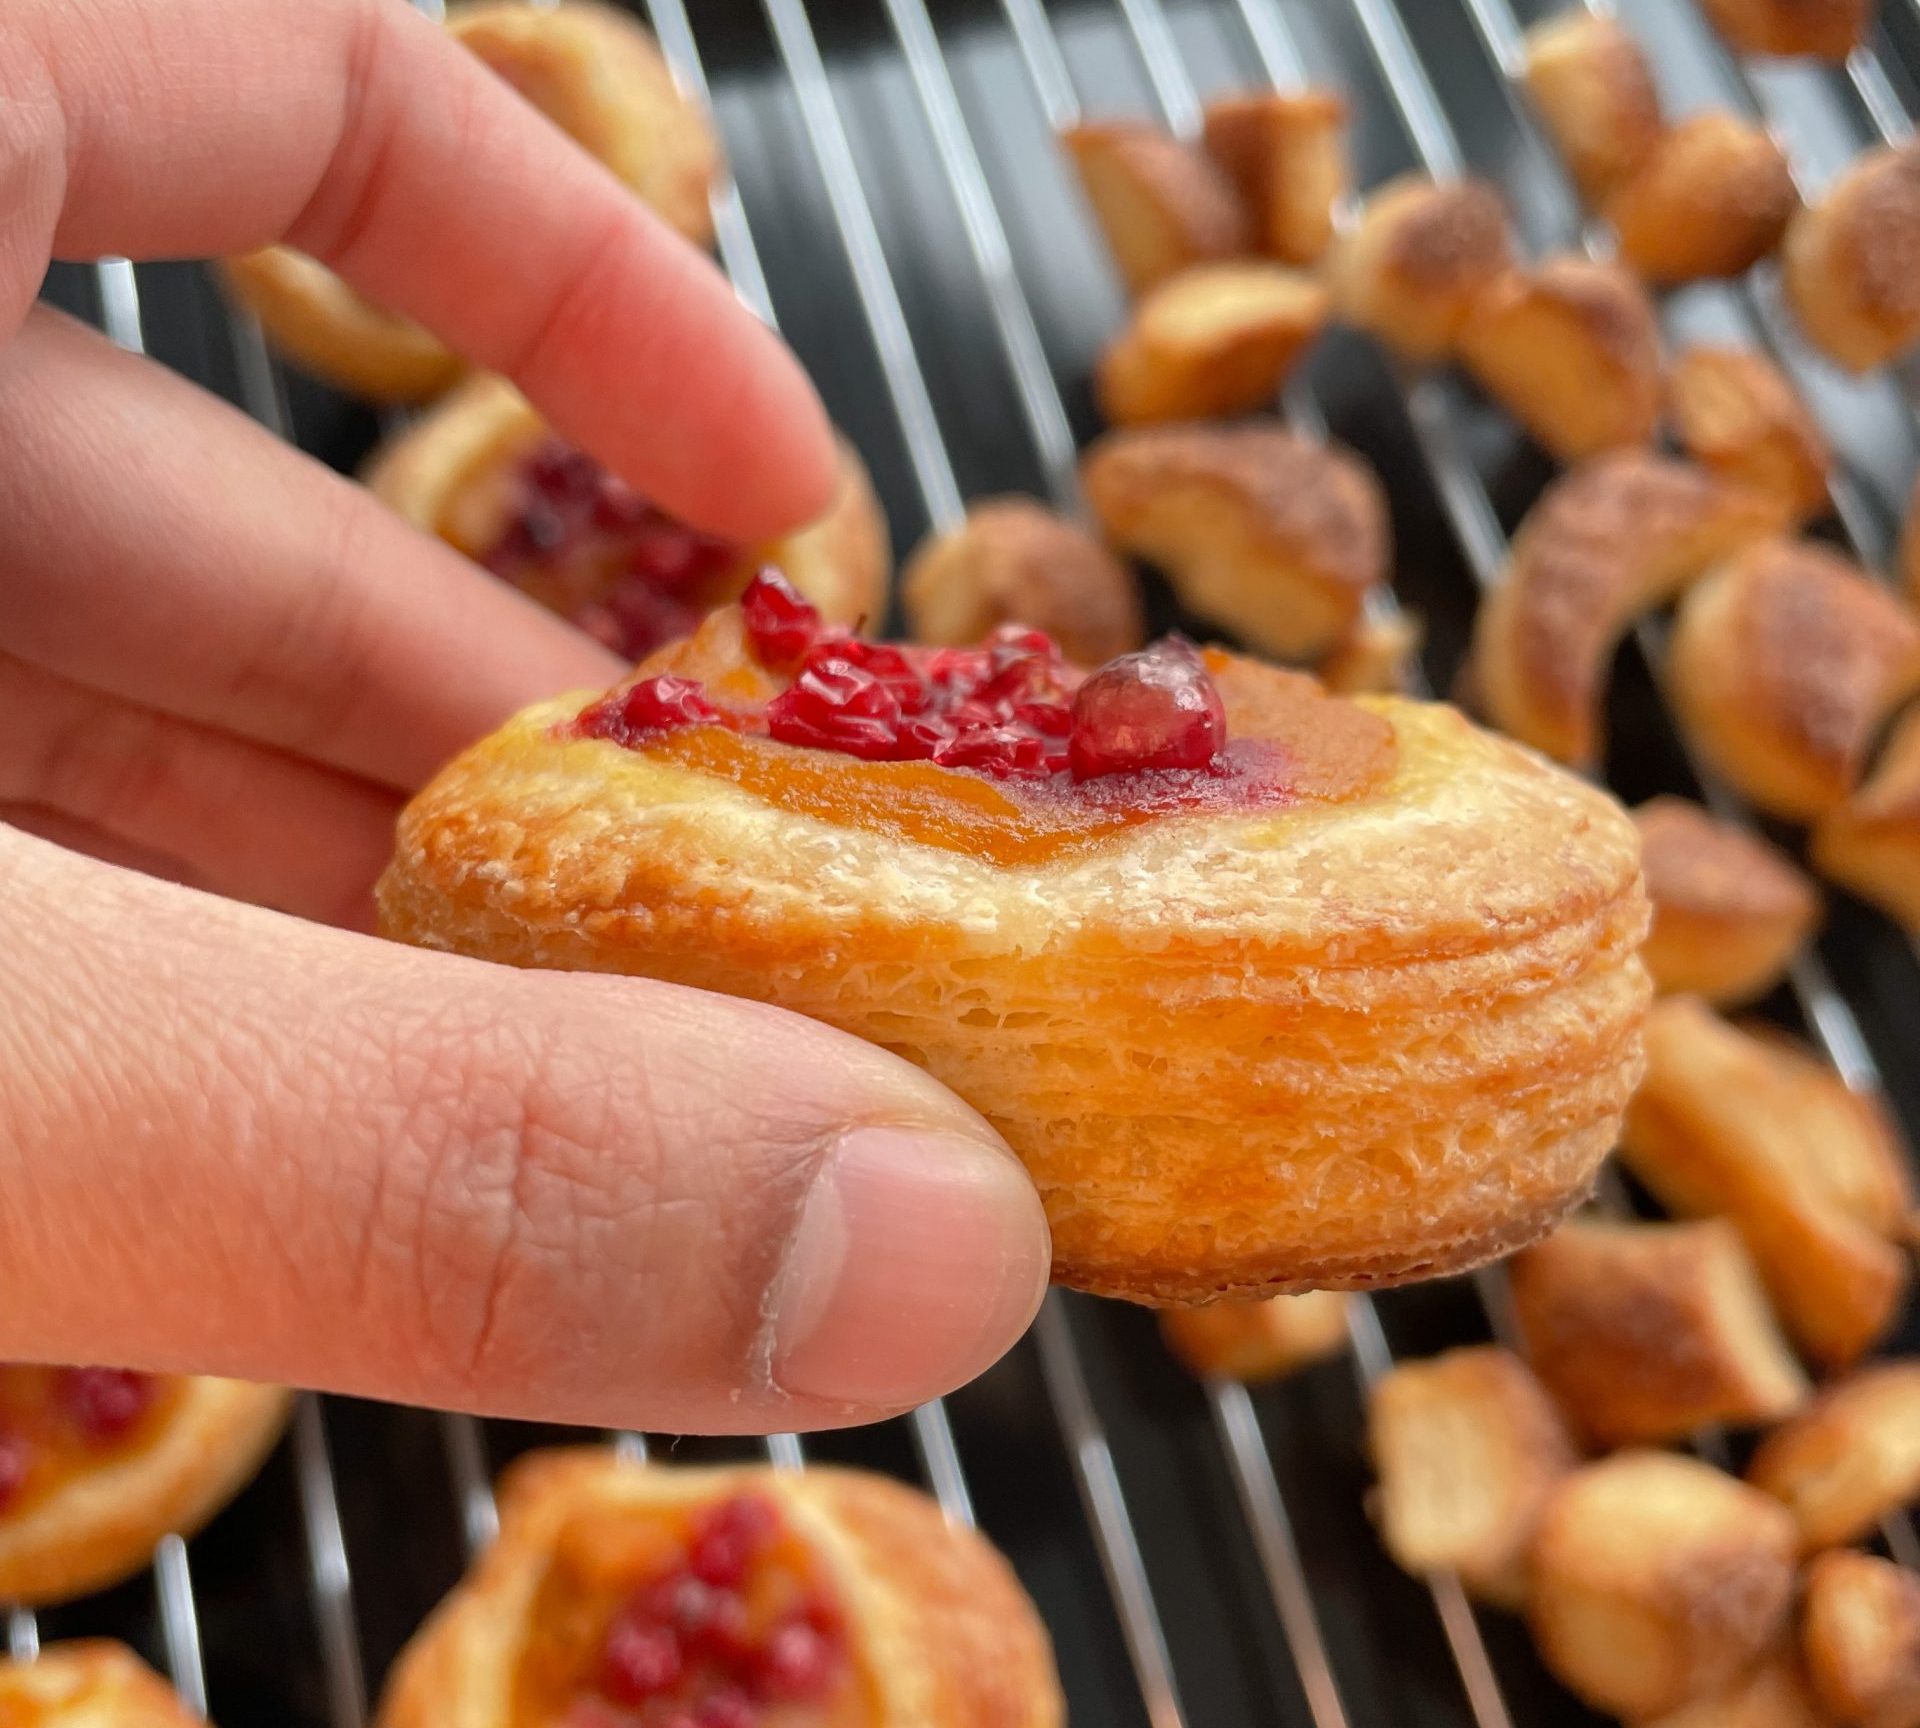
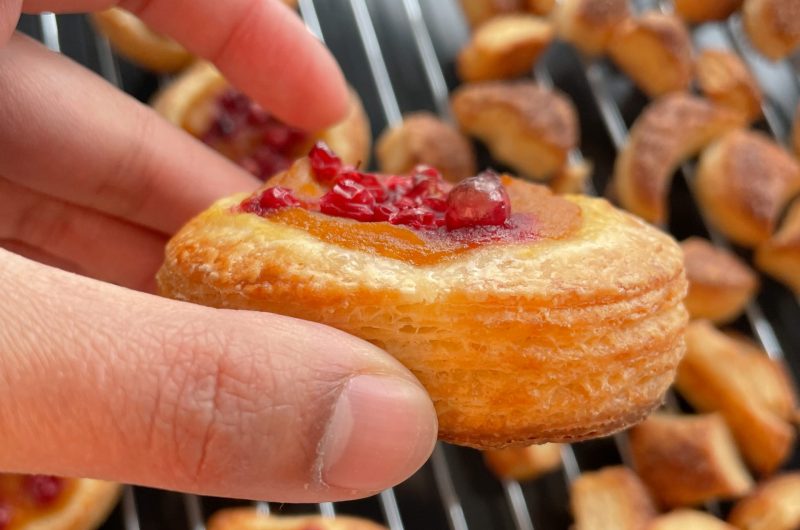
Lesson 3: It’s ok if you don’t fold and cut the dough into a precise point. I can get criticism from this point but I was so tired when I have to do each fold, so I did it kind of roughly. I didn’t cut my dough out into a perfect rectangle and I also forgot the direction in which the dough is supposed to be folded. But hey, my danishes look pretty great, don’t you think?
Lesson 4: It might help you navigate through the recipe easier if you know how to make bread with yeast. I have made quite a lot of bread throughout my 24 years of living, and I would say that helps me go through the process of making the puff pastry much easier. It will help you to know how much to knead the dough, and what types of flour go with what method in case you are improvising. But even if you are not that much into bread making, I am sure you can do well in the puff pastry section.
Lesson 5: You should try making Danish pastry at least once in your lifetime. It really is a learning curve for me to make Danish pastry. Also, there’s something about the homemade pastry that makes it tastes 10 times better than the store-bought one. But anyhow, even if you are not a fan of puff pastry, it is a great way to work out your arms! You will also appreciate the cafe’s pastry a little more as well. The biggest takeaway for me is that now I feel like I can bake anything because I’ve successfully made danish pastry from scratch.
After my first time making danish pastry, I thought to myself that I will just buy a store-bought pastry or go to a nice cafe next time but I know that it would never taste the same as the one I make. So yes, I would definitely make my Homemade Danish Pastry again!
Check out my Pumpkin Cranberries Danishes Recipe if you’ve managed to make the puff pastry!
Let me know what are your other favorite danish toppings by connecting with me through my other social media platforms under @onehappyavo. Hope you will enjoy making puff pastry as much as I do, and have fun baking!
Fail Proof Danish Pastry: Making Danish Pastry from scratch
1
sheet of puff pastry40
minutes18
minutes2
minutesThe recipe I use to make a perfect danish pastry from the very first time.
Ingredients
- Dry Ingredients
500g or 4 cups all-purpose flour
(use bread flour if you want a more chewy texture)10g or 3 1/3 teaspoons active dry yeast
50g or 1/4 cup caster sugar
1 teaspoon salt
- Wet Ingredients
2 Large eggs
120ml or 1/2 cup lukewarm milk
80ml 0r 1/3 cup lukewarm water
- For the fold
250g or 1 cup unsalted butter
Directions
- Starting dough
- Activate the yeast: Mix together the lukewarm milk and water, the temperature should be around 40˚C or 104˚F. Add the sugar and the yeast into a bowl of lukewarm mixture, and stir a bit to dissolve the sugar.
Let the yeast activate for about 5 – 10 mins, if the bubbles start to appear then the yeast mixture is ready to be used. If not, check if your yeast has expired or the milk and water might be too warm, and restart the whole process. - Mix the ingredients: In a large mixing bowl, add all-purpose flour and salt, and stir roughly with a whisk or with your hand. Add the eggs and the yeast mixture, and gently stir the ingredients together with a spatular.
- Knead the dough: Knead the dough in the bowl, or if you prefer, on a clean work surface for 3 – 5 minutes. The dough should bounce back slowly when poked, if not, it’s ok to keep kneading the dough.
- Let the dough rest: Roll the dough into a ball, let it rest in the bowl, and cover it with a clean cloth or cling wrap. Leave the dough to rest while you prepare the butter.
- Prepare the butter layer
- Prepare the parchment paper: Fold the sides parchment paper towards the middle into a rectangle shape of about the size of 12″ x 18″. You might need to use 2 parchment pieces of paper depending on the size of the paper.
- Make the butter sheet: Cut the cold butter into thin slices onto the paper to cover the surface of 12″ x 18″ folded lines (doesn’t need to perfectly cover inch to inch as we will pound the butter later on). Cover the buttered surface by folding it in the side of the leftover area of the parchment paper. If the leftover area doesn’t cover all the butter surfaces, you can add another parchment paper on top.
- Pound the butter: Start pounding the butter under the parchment paper to create an even surface sheet to the size of 12″ x 18″ folded lines. Rest the butte in the fridge while rolling out the dough if needed as we need the butter to remain cold.
- Folding the dough
- Roll out the dough: Roll out the dough to be 1 1/2 the length of the butter sheet (about 24″), with the same size width as the butter sheet.
- Layer the butter: Gently remove the parchment paper from the butter and place the butter aligned to the bottom of the dough.
- Fold the dough: Fold the top 1/2 dough that is not covered by the butter into the middle of the butter, then fold the bottom third on top of the fold. Leave the dough to rest in the fridge for at least 30 mins, the best result is to rest the dough for 2 hours between each fold.
- Repeat the folding process 2 more times by rolling out the dough, folding it in the same way as the step above despite the butter sheet, and rest for 2 hours between each fold.


- Rest the dough: After the 3rd fold, rest the dough for another hour. For the best result, rest the dough overnight.
- The dough is now ready to be the base of yummy danishes filling! Bake at 200˚C or 400˚F for about 18 – 20 minutes depending on the thickness and the toppings.
Shared ideas (15)
Comments are closed.