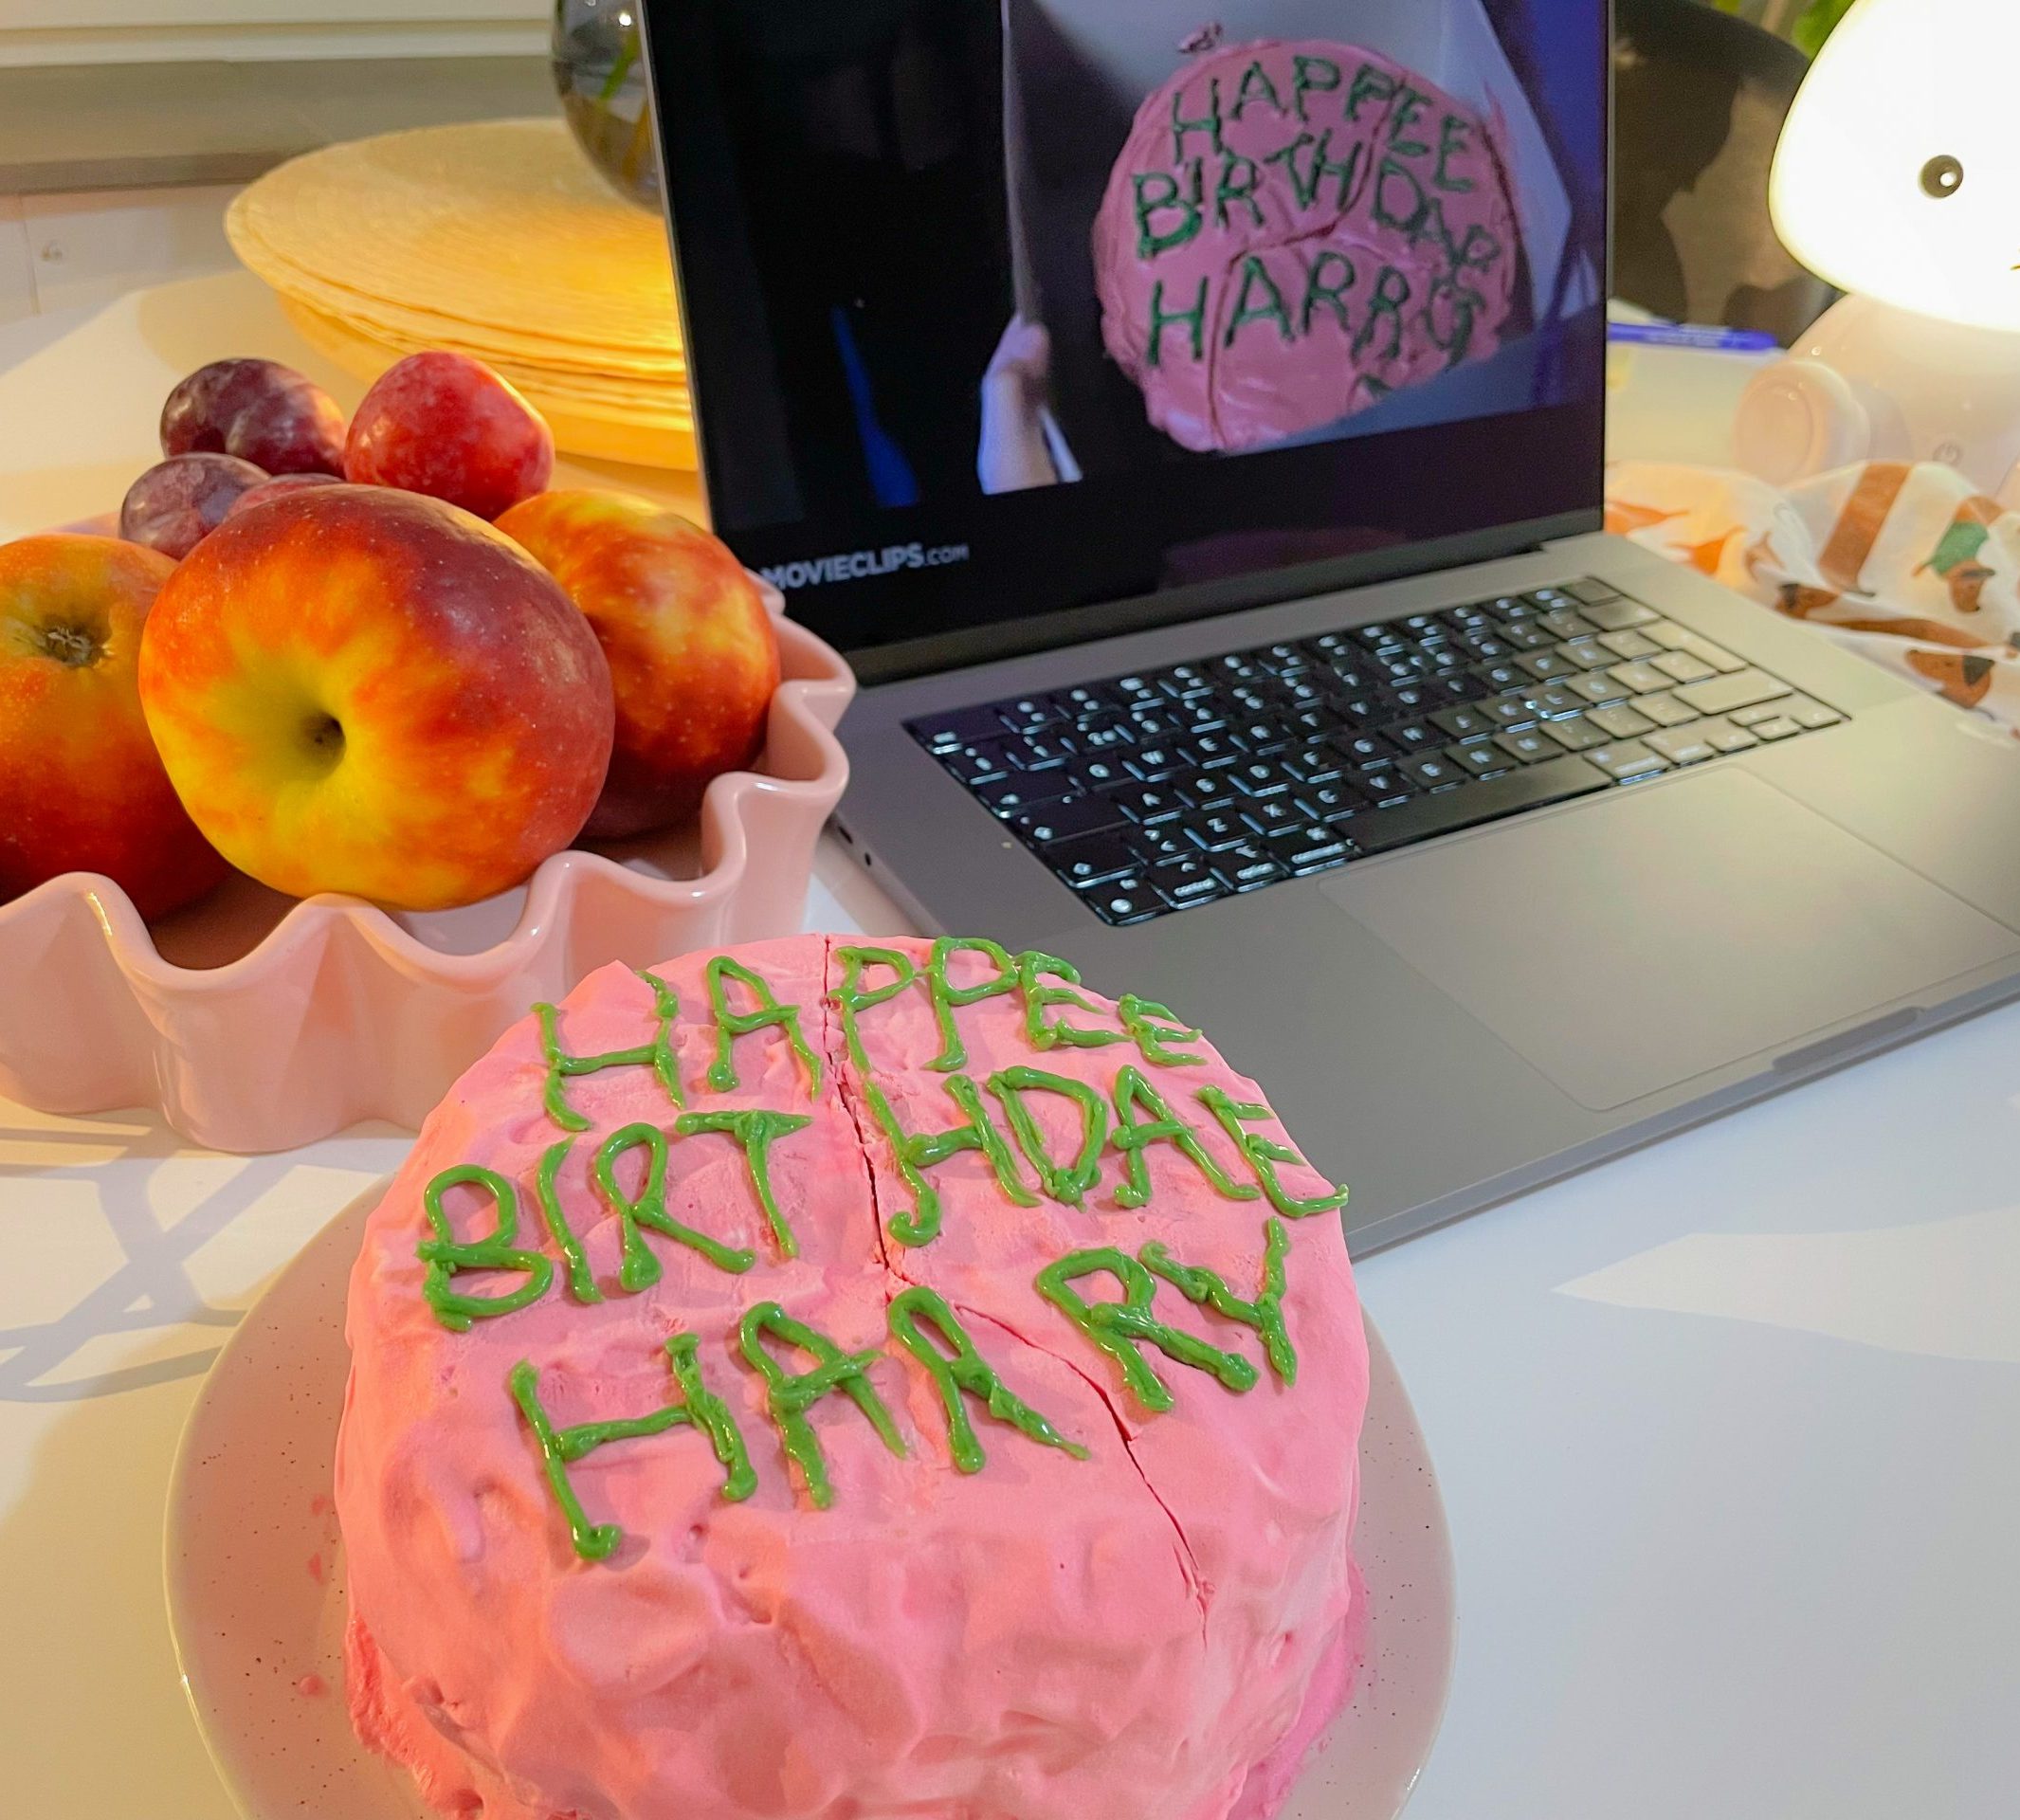
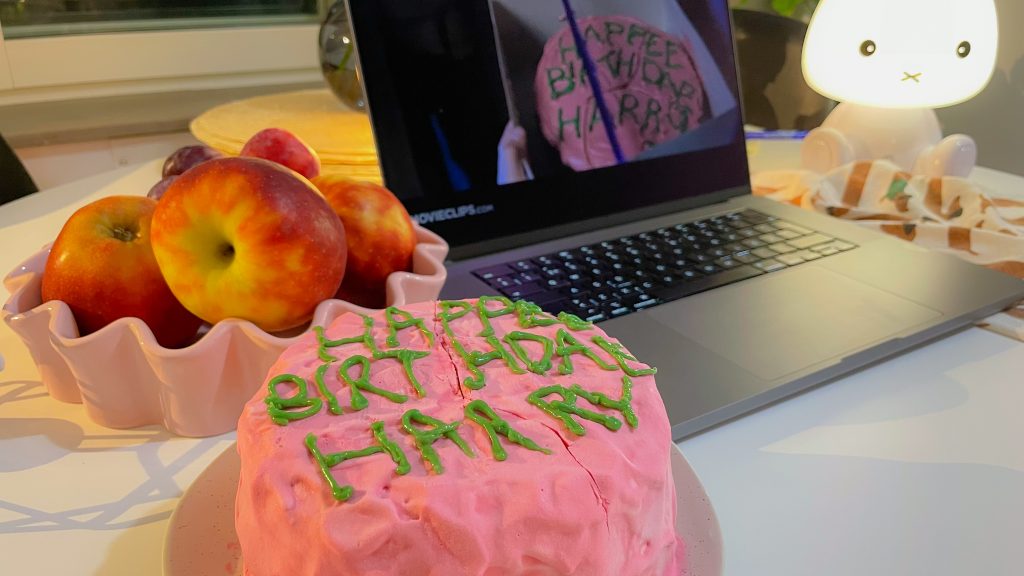
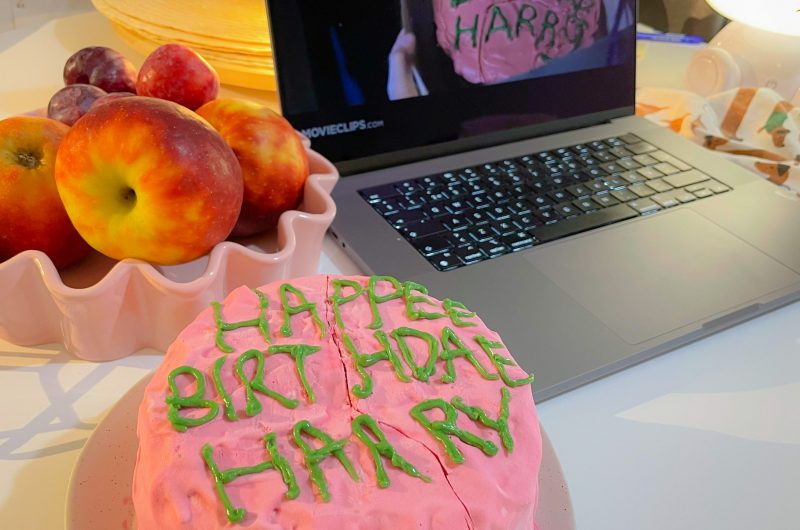
If you are looking for a baking recipe to impress some Harry Potter fans, then you will love this recipe. It is a cake with vanilla ice cream in between chocolate cake that looks just like something that Hagrid would bring during a stormy night.
The first time I made this ice cream cake recipe was for my husband’s birthday and I can say it openly that it was a disaster. I made it in the middle of one of the hottest days of the year, and you guess it, the ice cream and the decorating cream melted together before I could even bring out the spatular. So I decided to try again and write this article so you can do it without many hassles too. I watch a YouTube tutorial and maybe I didn’t grasp all the information, but it seems a whole lot easier in their video.
Ice cream cake can look simple and easy to make, but it might be more complicated than what think. Still, it’s a great dessert to make especially for a special occasion like a birthday. As long as you have some of these tips in mind then you are going to end up with a nice-looking and tasty ice cream cake!
Dos and Don’ts tips for any ice cream cake you will ever make:
Do(s)
- Cold/cool environment – Make sure that the room you are assembling the ice cream and the cake is not too warm
- Make space in the freezer – Make room in the freezer enough to fit the whole cake both the width and height
- Light/ sponge cake – The thicker the cake texture, the longer it will take to defrost and the ice cream can melt first. Sponge cake is great as it is also easy to cut through.
- Take some time – It is ok to take some more time to make sure the cake, ice cream, and frosting are properly cooled and set before assembling. You can even bake the cake a day before to make sure it’s properly cooled down. I assembled the cake and ice cream and put in in the freezer for about an hour before I start frosting the cake (as I mentioned, it was during the summertime).
Don’t(s)
- Warm area – Don’t put the ice cream and the decorating cream anywhere near the heat such as the heat from the oven, candles, or even direct sunlight.
- Buttercream frosting – Buttercream or icing doesn’t freeze well. So unless you plan to consume the whole cake right after you finish assembling them, us whipping cream or fresh cream frosting is more suitable for ice cream cake.
- 1 layer – It’s always better to decorate with frosting on the cake surface, so it should look like an ice cream sandwich between layers of cake.
If you ever feel like baking something a little challenging and rewarding, then making an ice cream cake will be one of them. I would say it is not that much of a hassle if you know how to bake cake already or you can use cake mix to make it even easier.
I think it’s really fun to try baking new things even though it can be quite challenging. But anyways, if you have any questions or comments about the recipe, be sure to speak out on my other social media platforms under the name @onehappyavo.
Hope you like the recipe and enjoy baking!
Harry Potter Birthday Ice Cream Cake | Dos and Don’ts when making Ice Cream Cake
Course: Dessert1
cake1
hour15
minutes35
minutesIngredients
- Chocolate cake
1 cup all-purpose flour
1/3 cup cacao powder
1 teaspoon baking powder
1/2 cup brown sugar
1/4 cup vegetable oil
1/2 cup milk
1 medium size egg
1 tablespoon water
A pinch of salt
- Vanilla ice cream layer
200g vanilla ice cream
- Whip cream frosting and decoration
2/3 cup whipping cream
1/4 cup strawberry jam (with gelatin)
2 teaspoons red food coloring
40 ml store-bought green writing icing
Directions
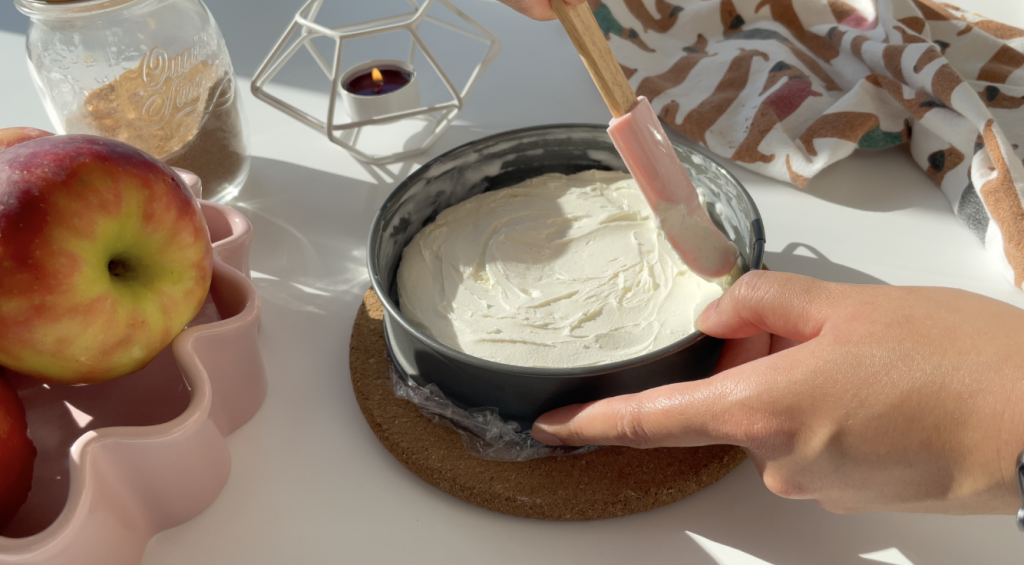
- Vanilla ice cream layer
- Line the bottom of a 4-5 inches diameter round cake tin with plastic wrap.
- Spread the ice cream evenly covering the surface with a 1 – 1 1/2 inch thickness.
- Rest in the freezer while preparing the cake.
- Chocolate cake
- Preheat the oven to 180˚C or 356˚F.
- Grease the cake tin(s) the same size used for the ice cream, with butter, and on top of the butter grease, line with baking paper that is cut to pit the tin without creating creases. You can use two tins to make the layers, or 1 tin and cut the cake in half horizontally later.
- In a large bowl, mix the wet ingredients including oil, milk, sugar, an egg, and a pinch of salt to make sure there is no lump of sugar left.
- Sift the flour, baking powder, and cocoa powder together into the wet ingredients.
- Mix everything together using a spatula or hand mixer.
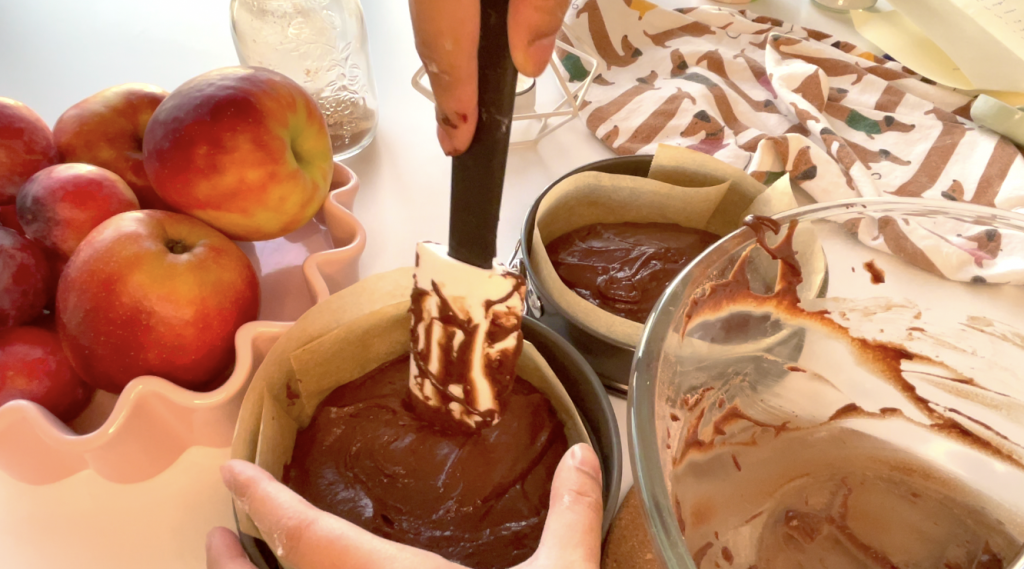
- Pour the cake batter into the prepared cake tin or divided it equally into two cake tins.
- Bake for about 35 -45 minutes or until there are very few crumbs left on the toothpick when interested in the middle of the cake.
- Let the cake cool down for 10 minutes in the tin. After that, remove the tin and let it cool down properly.
- Assemble the ice cream cake layers
- Cut the top of the cake to bake an even surface. If you bake 1 cake, cut the cake open in half horizontally.
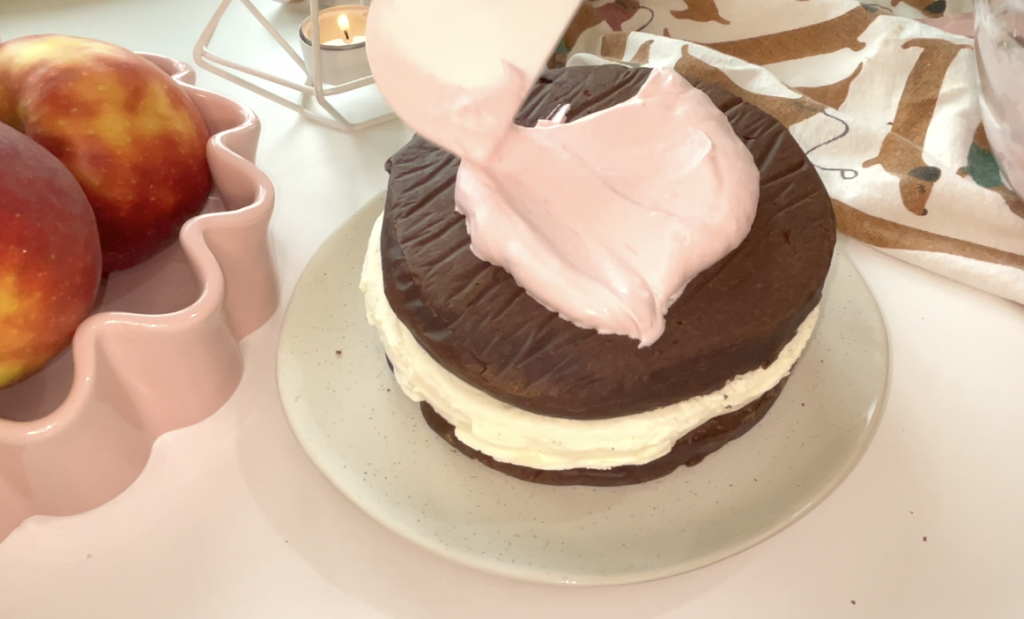
- Carefully place the ice cream on top of one of the cake layers, remove the plastic wrap, and gently put another cake layer on top.
- Let the ice cream cake rest in the freezer, while we make the whipping cream frosting.
- Whipping cream frosting
- In a large bowl or stand mixer, add the whipping cream, the jam, and 1 teaspoon of red food coloring together.
- Whisk the cream until it holds the peak but not too much that it starts to separate layers.
- Separate the frosting into two equal portions (in separate bowls). Add 1 teaspoon of the red food coloring to one of the portions.
- Decorating
- Layer 1 frosting with lighter red color: Take the prepared cake from the freezer and frost the surface with the lighter red color whipping cream frosting. Let it rest in the freezer for about 15 minutes.
- Layer 2 frosting with stronger red color: Frost the surface of the cake over the 1 layer of the frosting with the stronger red color portion of the frosting. This way when you make a dent like the cake in the Harry Potter movies, it will create a nice illusion.
This has nothing to do with the taste of the cake. - Let the cake rest in the freezer for another 10 minutes before starting decorating.
- Enjoy decorating the cake as you wish!